-

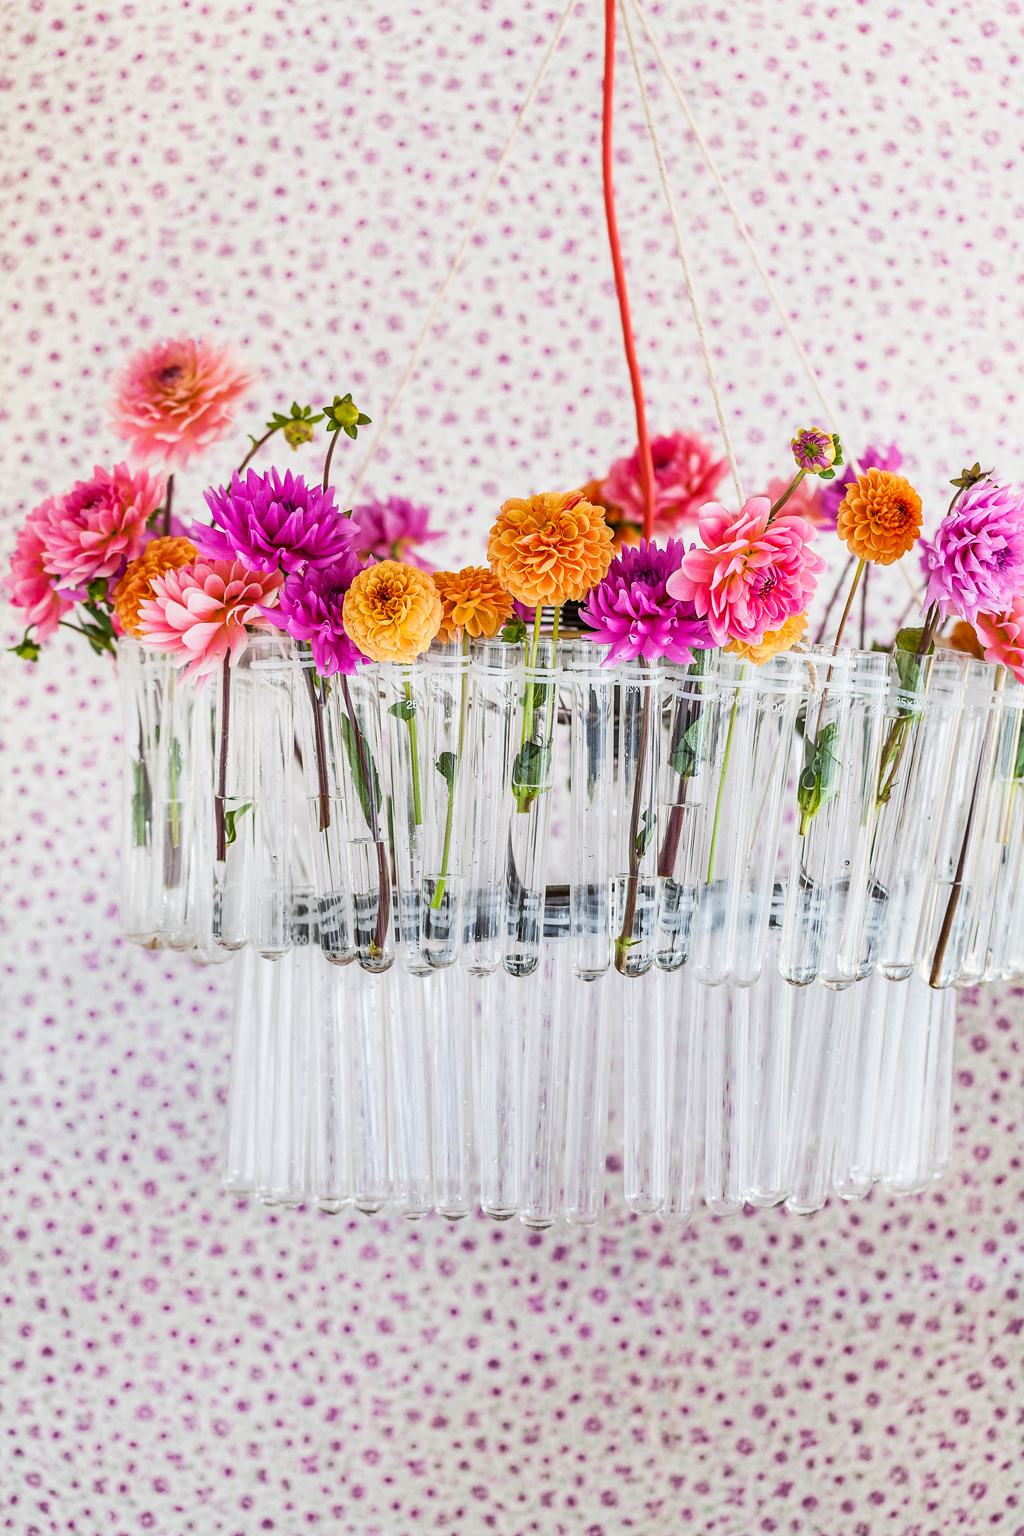
Bloomin’ lovely DIY chandelier -
Bloomin’ lovely DIY chandelier -
Bloomin’ lovely DIY chandelier
PHOTOS Antonie Robertson
We promised you exclusive sneak peeks from Misi Overturf’s self-published Real Easy Decor & DIY book and here is the first of four. Such fab projects to keep you busy through the holidays!” our editor-in-chief Sumien Brink comments.
DIFFICULTY Easy peazy | TIME 3 hrs
What you’ll need
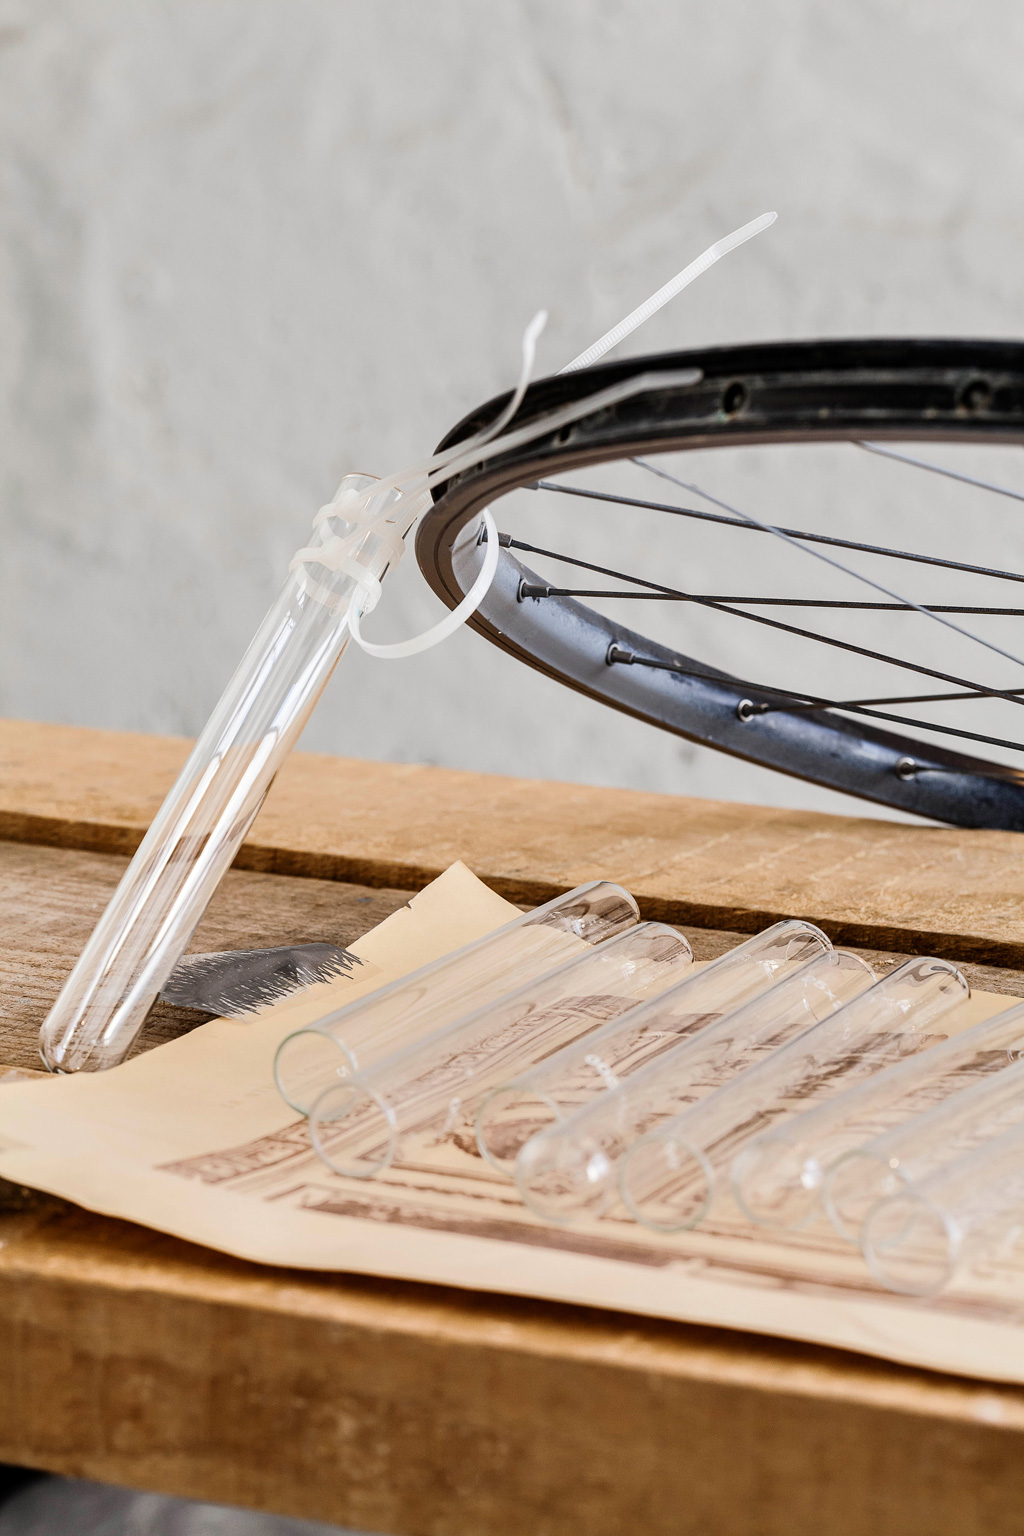
Glass test tubes (check the size of the tubes and how many you will need)
Old bicycle rims
Cable ties
Strong rope
Scissors
Instructions
1. Without pulling them completely tight, fasten two cable ties around the neck of one of the test tubes.
2. Take a third cable tie, thread it between those ties and the tube, around the bicycle rim, and fasten.
3. Position the two ties around the tube so that they are inside the bicycle rim, against the edges.
4. Push the tails of these two ties flat into the rim and assemble the next tube.
5. Cut the tails of the single ties holding the tubes to the rim.
6. Use three lengths of rope and attach them to the rim, making sure they are evenly spread so as to balance the wheel; tie them together at the top and make a secure knot to hang the chandelier.
TIPS
1. This is a heavy chandelier and needs to hang securely from a proper hook that is securely fastened.
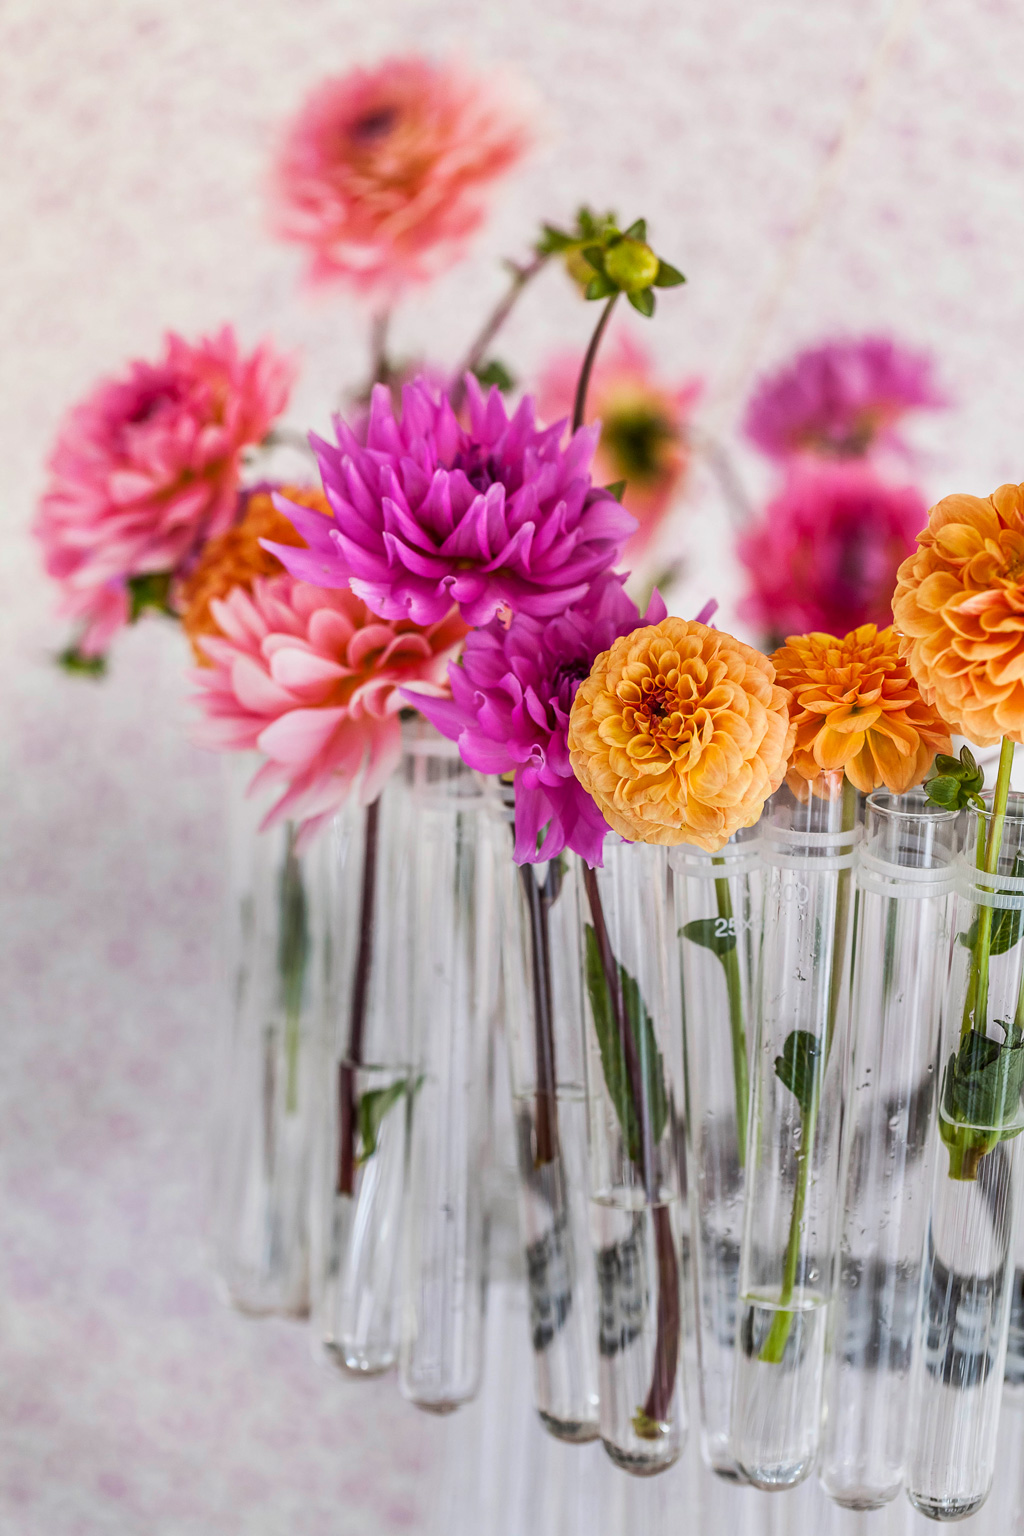
2. The glass test tubes give this chandelier a magical appearance – which cannot be achieved with plastic tubes.
3. There is some manoeuverability in the tubes and this can be used to tilt them and wash them on occasion. If cleaning proves to be a problem, disassemble, cut the ties, clean the tubes and reassemble.
4. A single bulb or fairy lights can be added to light up the chandelier.
5. Fill the tubes with water and flowers to create a breathtaking hanging vase.
6. Do the math For this chandelier I used 60 glass test tubes for the top tier and 50 for the bottom tier.
OPTIONAL A smaller wheel can be assembled and suspended from the top wheel with three pieces rope.
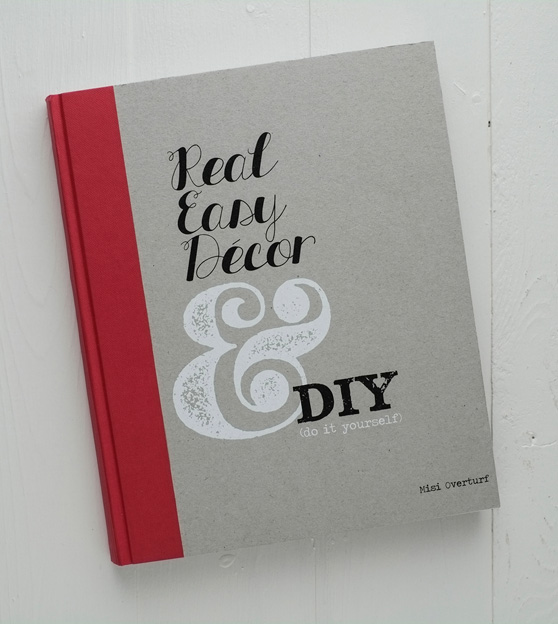
You can purchase the book directly from Misi on her website.